
Halio schedules make it easy to plan your social media content in advance.
You can choose from the schedules available to you, preview the content before adding it and then customise how often and where you'd like your posts to be published.
1. Find your schedules
From the Halio dashboard, select Schedule from the menu.
Then select Select to view the schedules available to you.
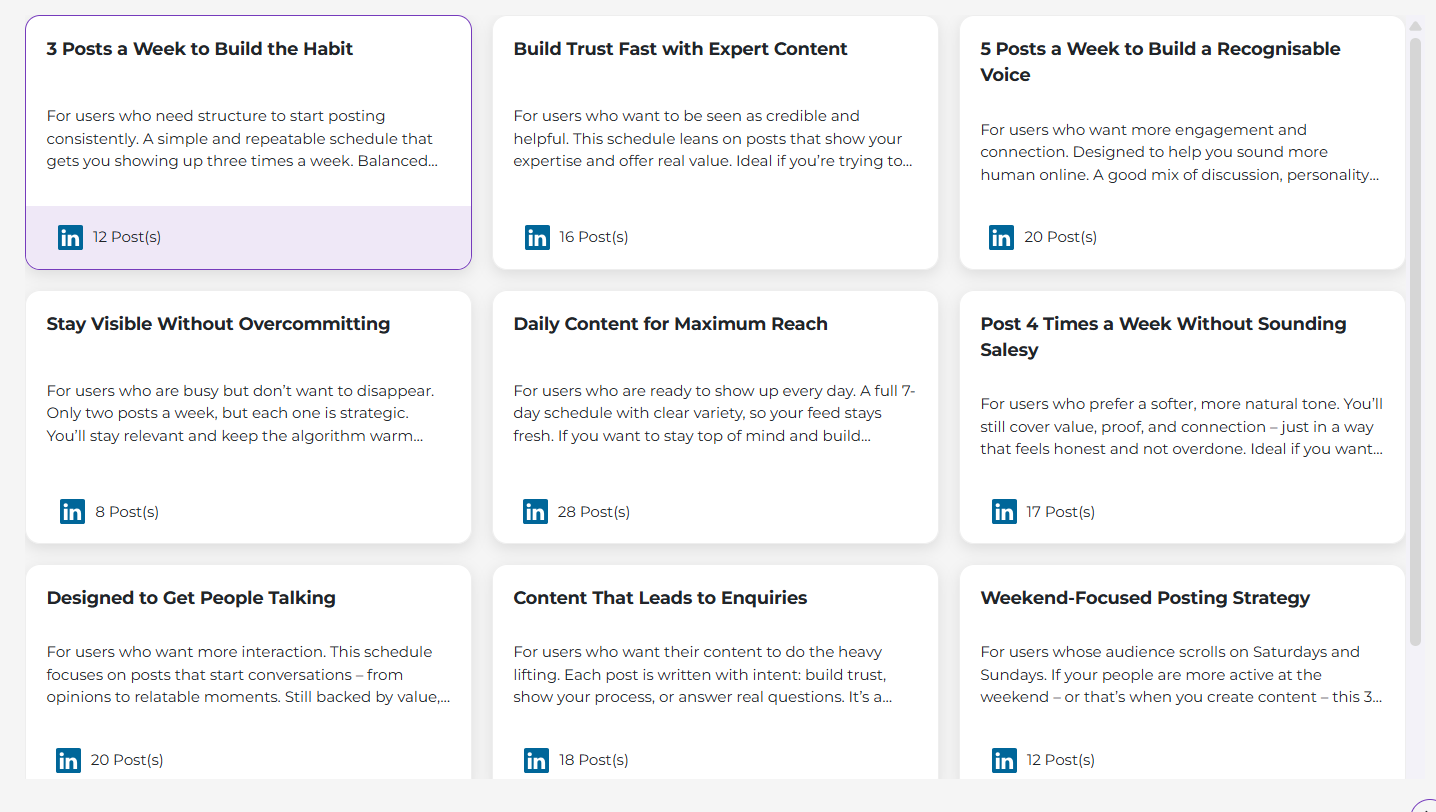
Depending on your account, you'll see different schedule collections to choose from.
2. Choose a schedule
Select a schedule collection to see the schedules available.
Choose the schedule you'd like to use to open a preview.
3. Preview your schedule
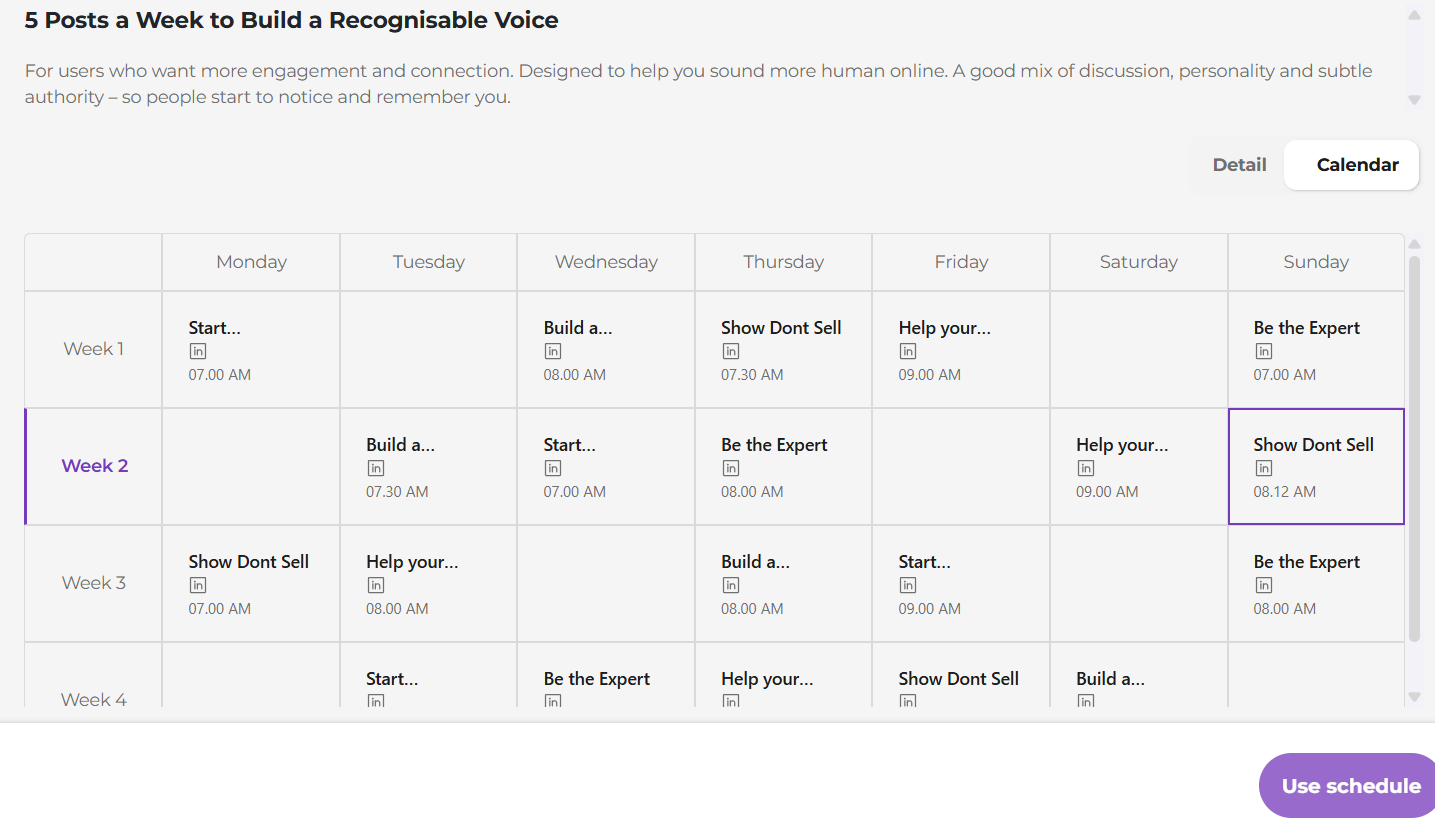
You'll now see your chosen schedule displayed in a calendar view.
This allows you to see the content included in the schedule and get an idea of what you'll be sharing before adding it to your Halio calendar.
Click on individual posts if you'd like to take a closer look at the content.
4. Add the schedule to your calendar
Happy with your choice?
Select Use schedule.
Halio will add the schedule to your account ready for you to review and customise.
5. Review your recurring schedule
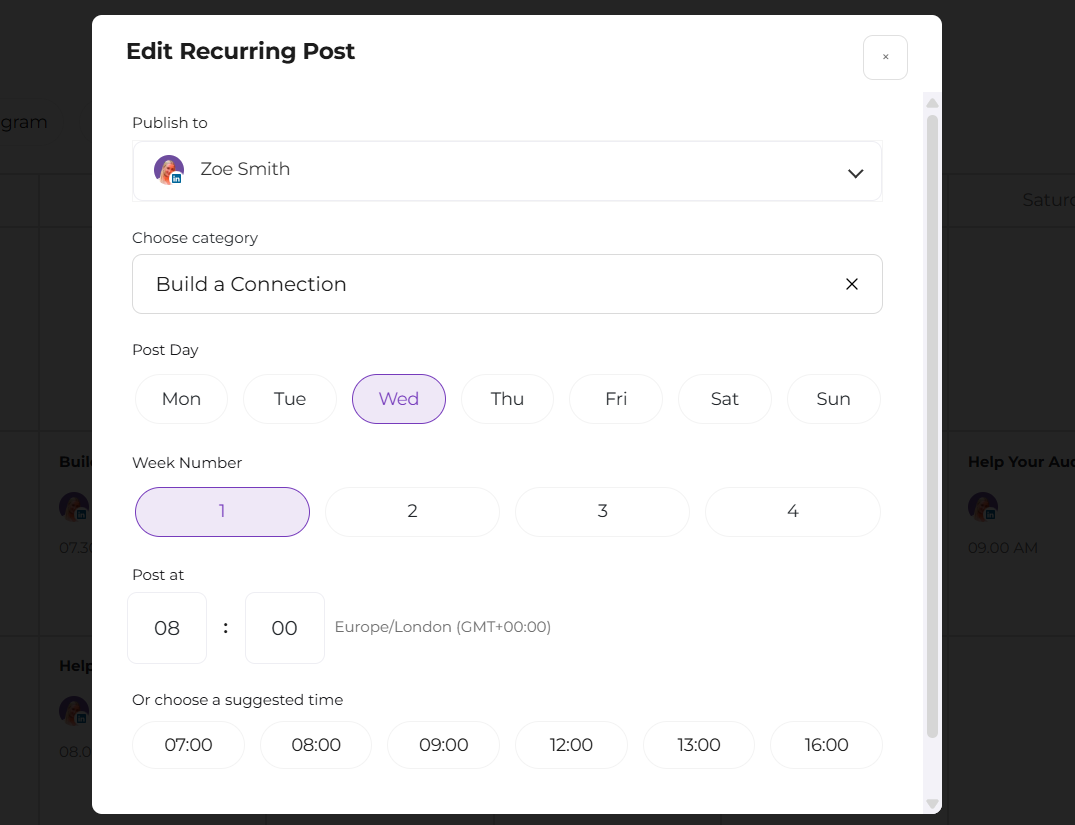
Once you've added your schedule, you can customise your recurring schedule to suit you.
You can choose:
How frequently you'd like to post
Which social platforms you'd like to use
The days and times you'd like your content to be published
This gives you control over how your Halio content fits into your social media activity.
What happens next?
Once your schedule is set up, head to Schedule → Review.
Here you'll see your upcoming content ready for you to review, make any changes and approve your first post.
Once you've approved your first post, you're well on your way!
Need some help? You can contact the Halio support team through the chat at any time.